- TOSIZE.es
- Do it yourself
- DIY Projects
DIY conversion for the robotic lawnmower and a floor hatch, by Eelco
DIY conversion for the robotic lawnmower and a floor hatch, by Eelco

Create this project yourself with sheet material cut to size by TOSIZE.es!
Eelco
Easy
2 minutes
Description of Eelco
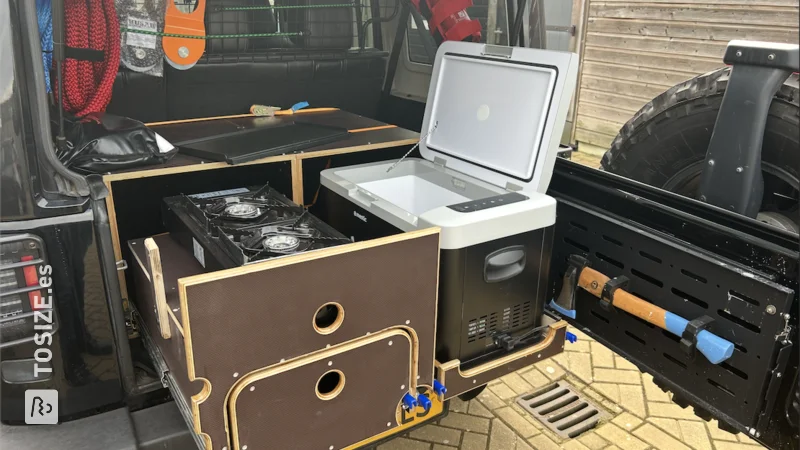
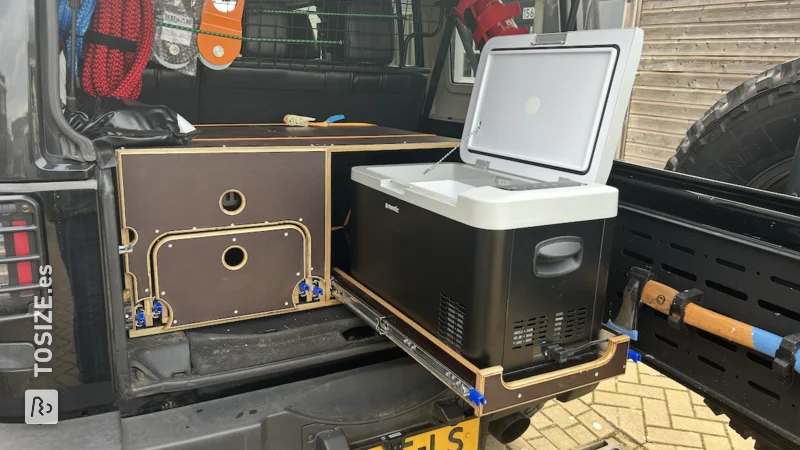
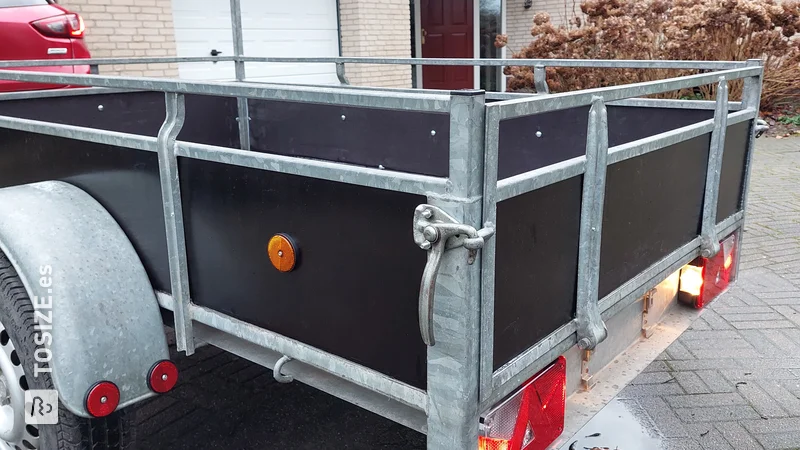
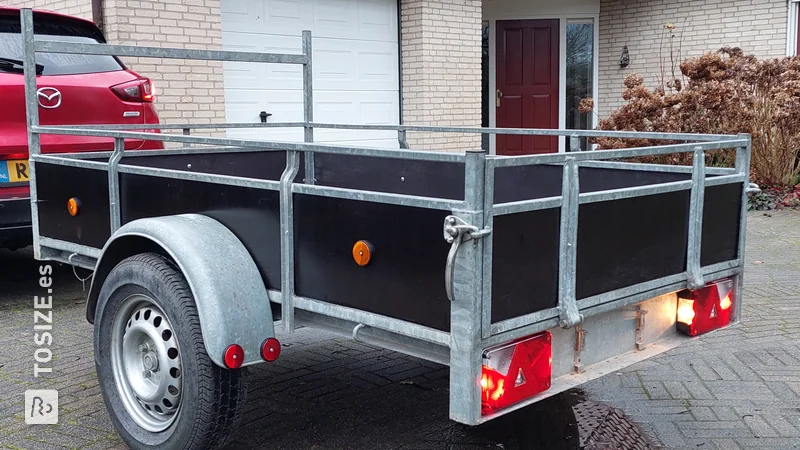
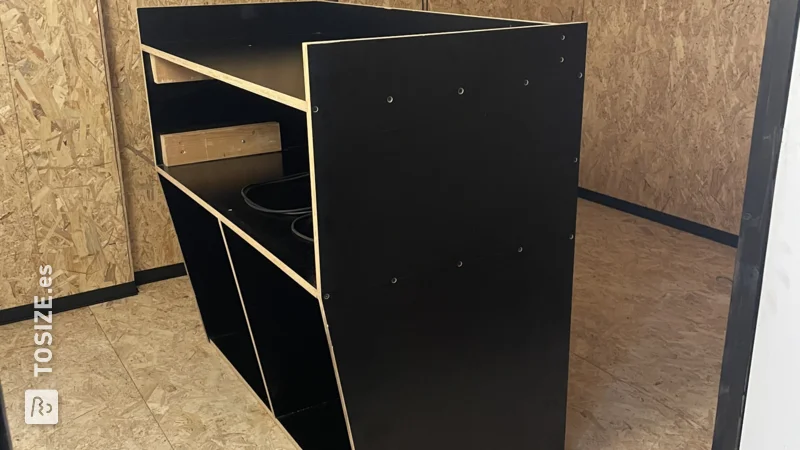
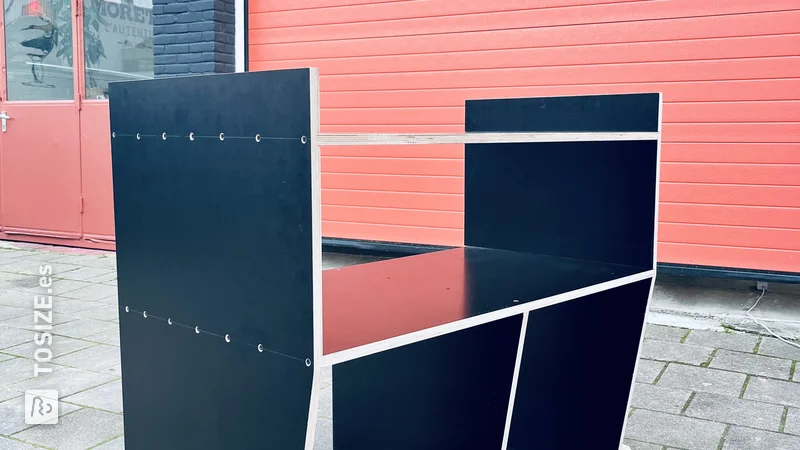
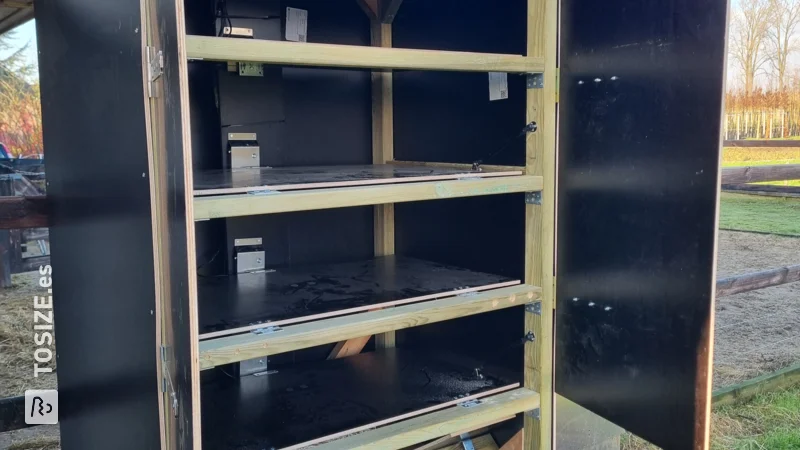
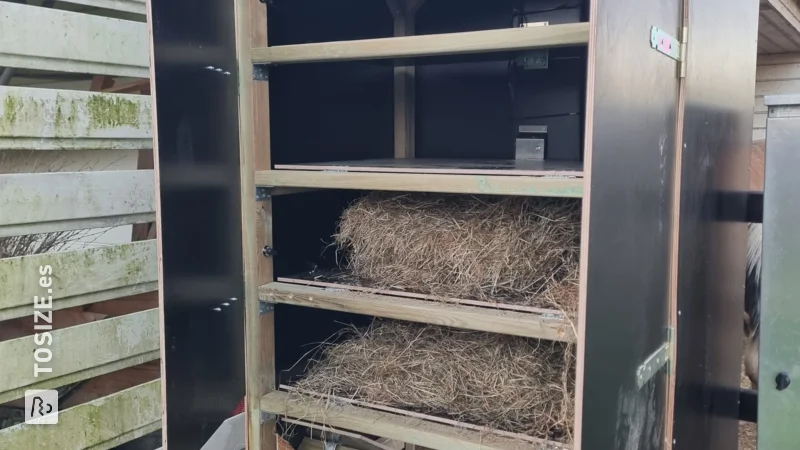
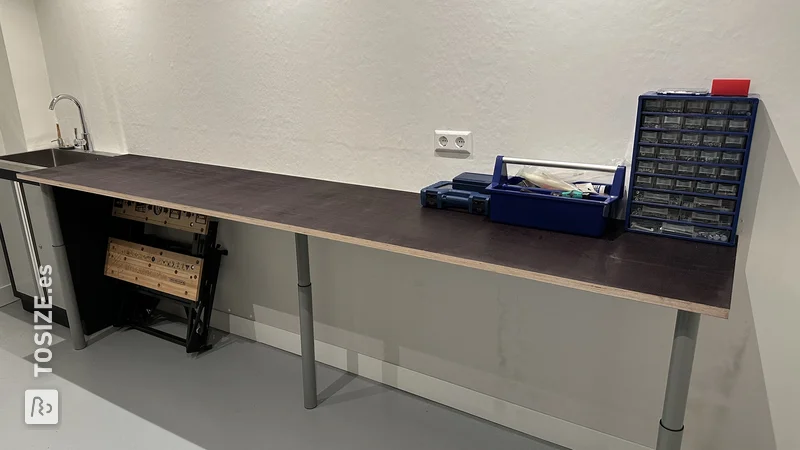
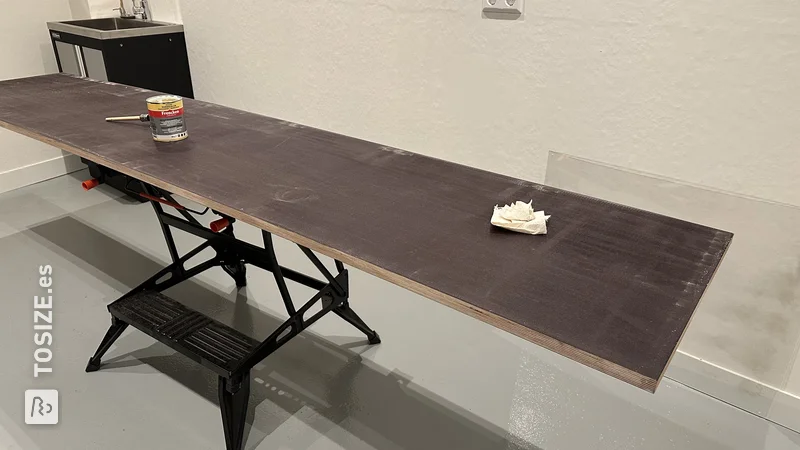
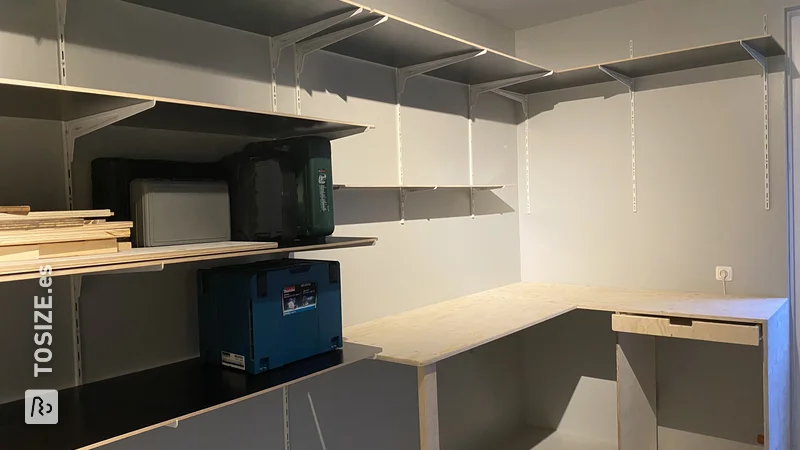
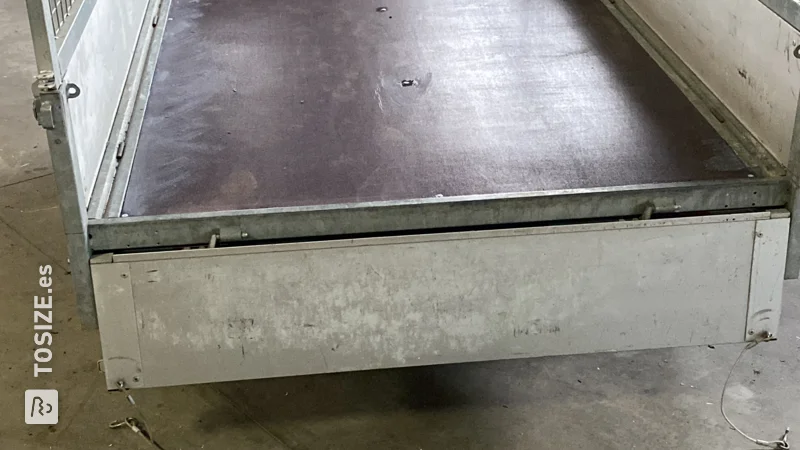
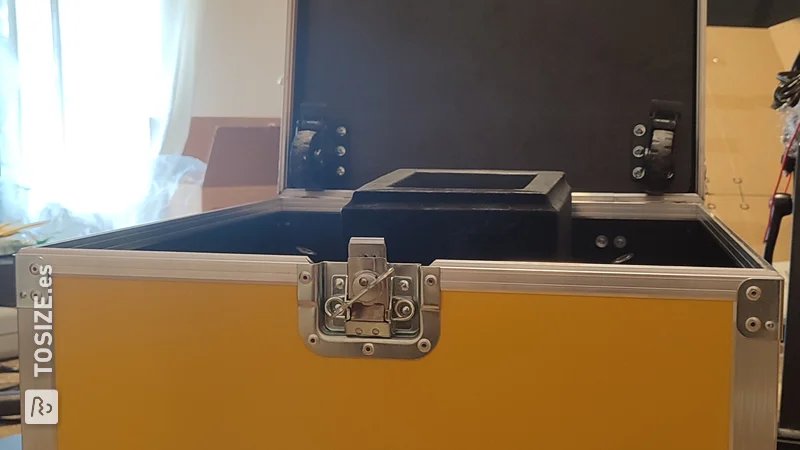
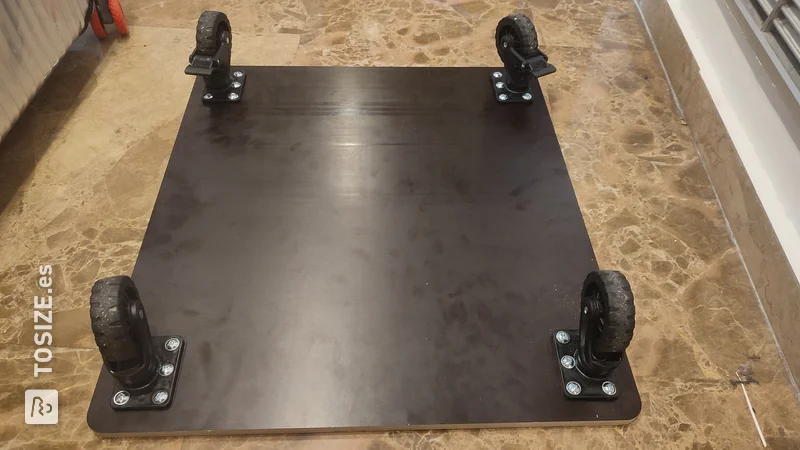
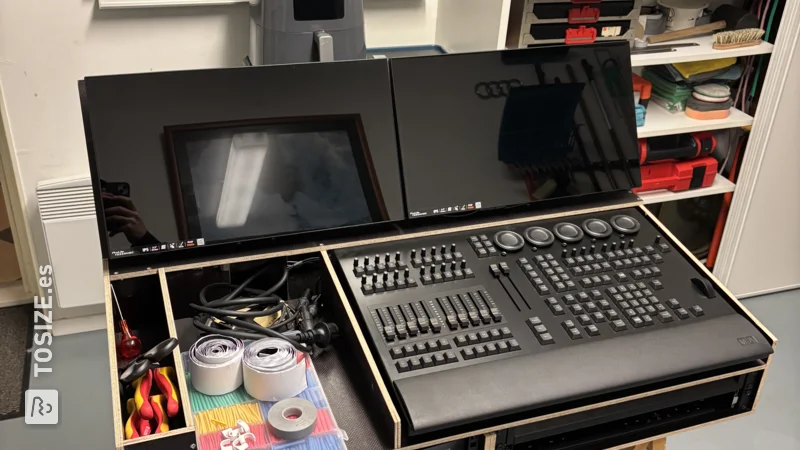
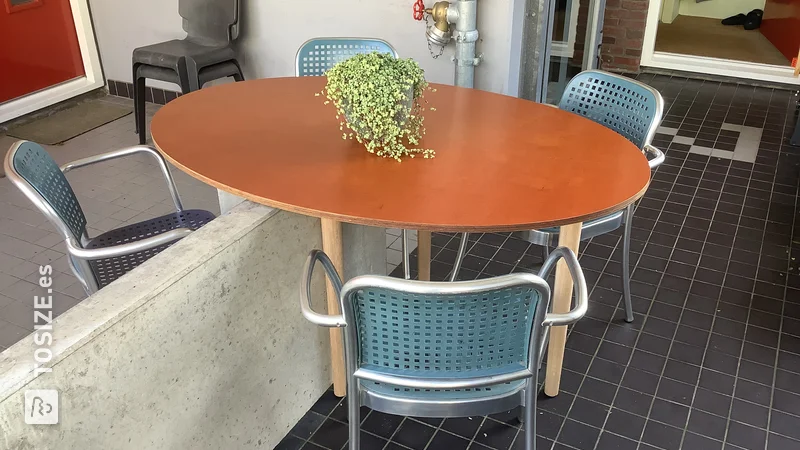
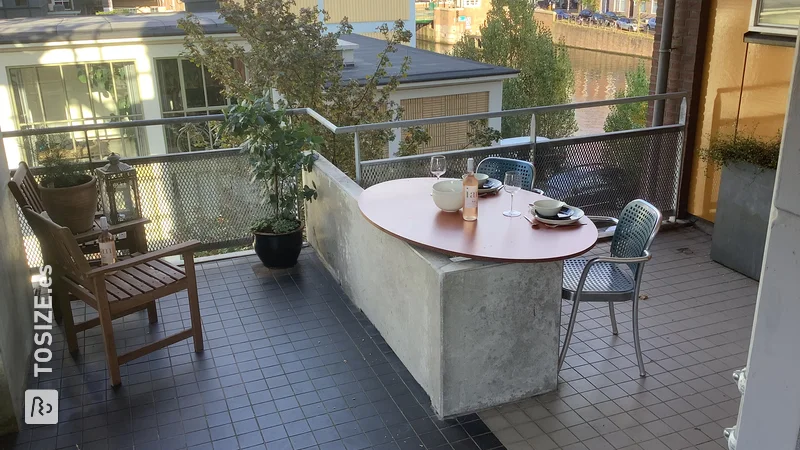
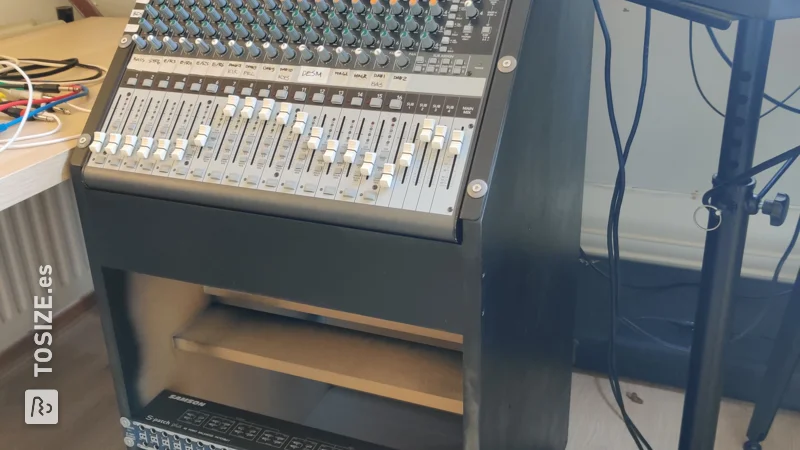
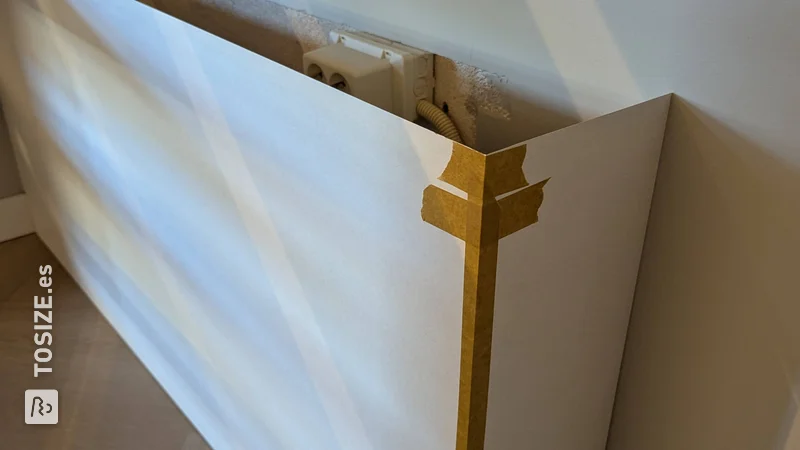
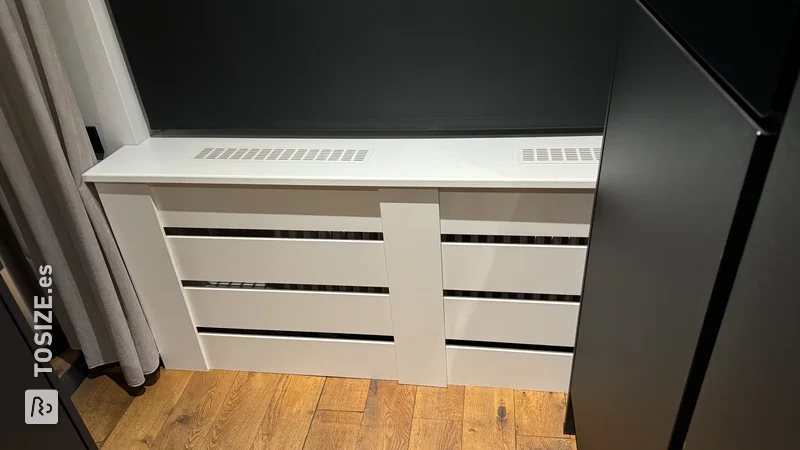
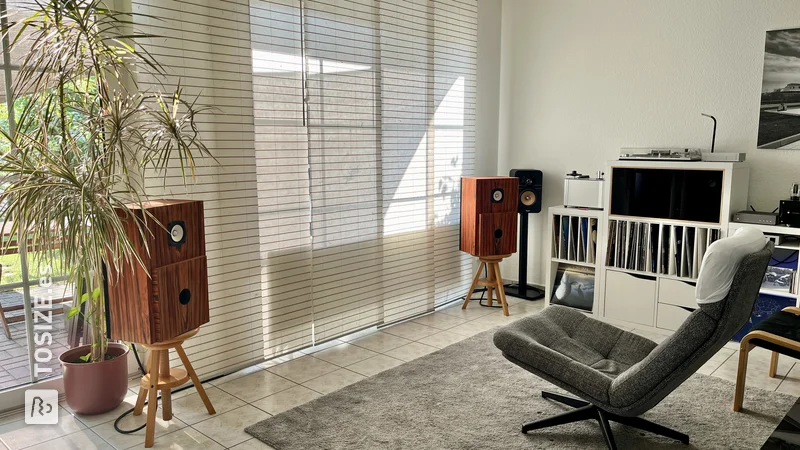
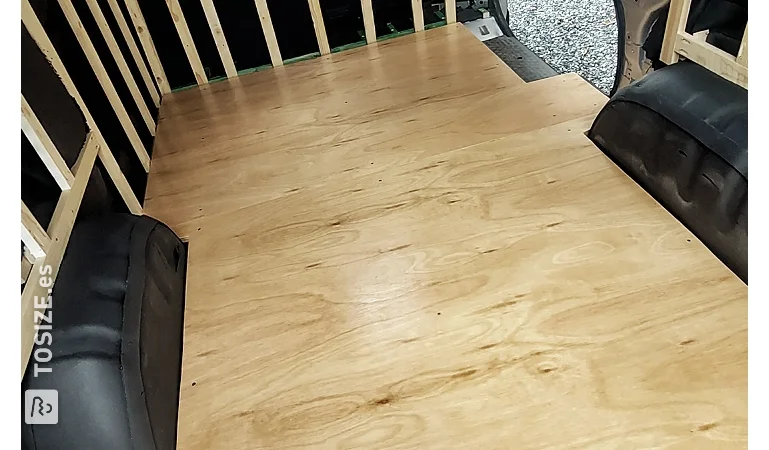
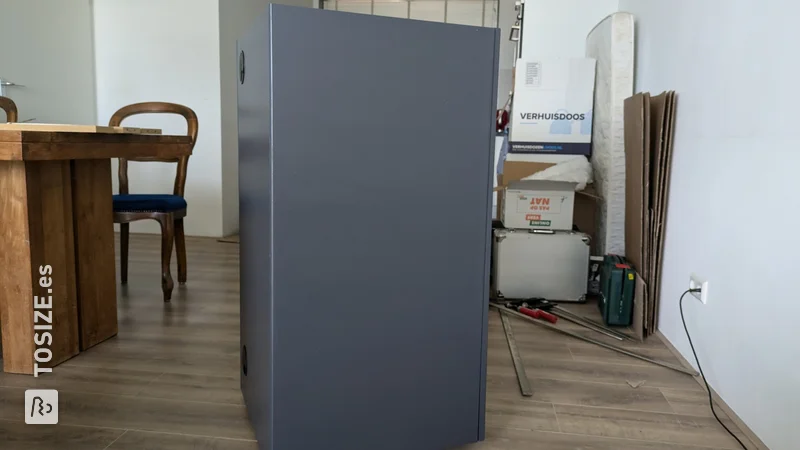
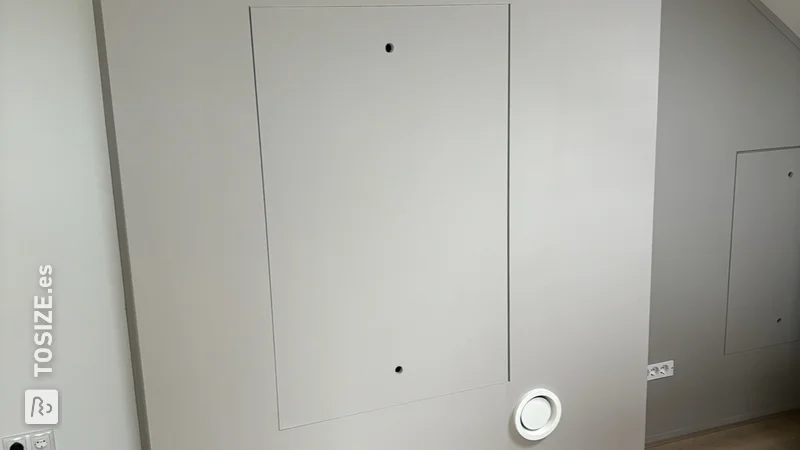
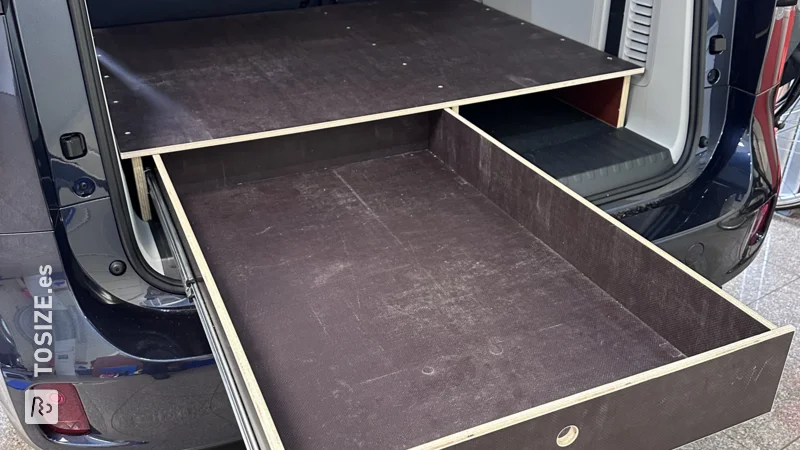
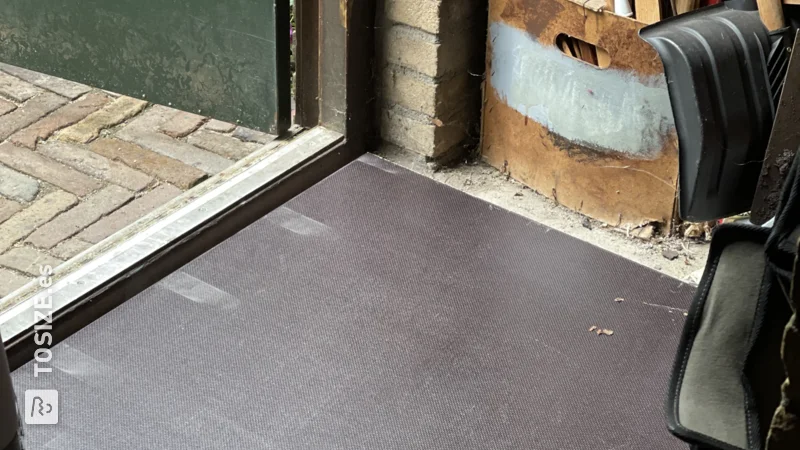
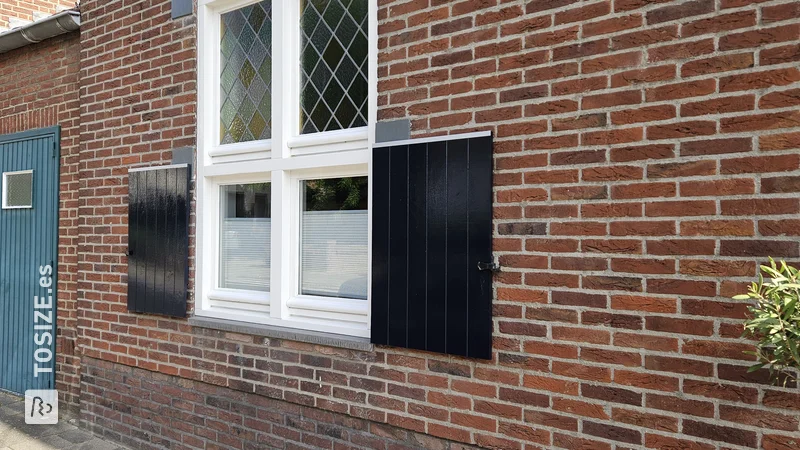
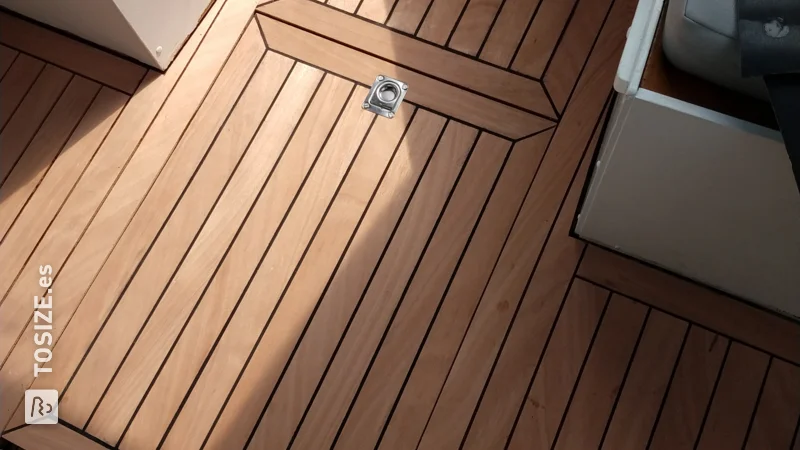
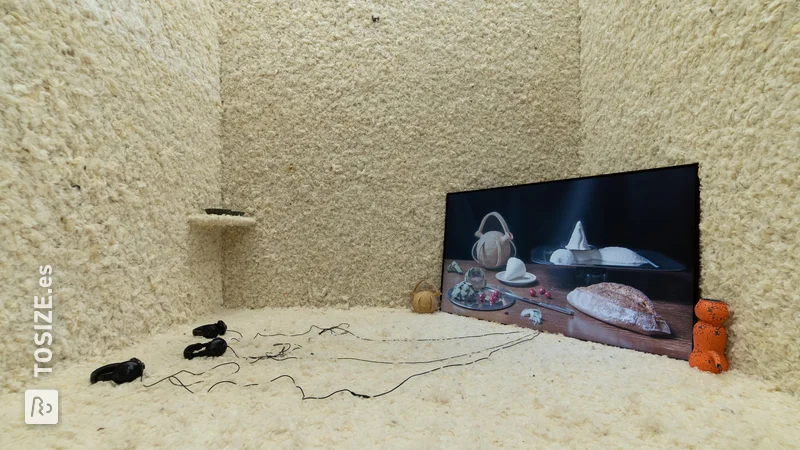
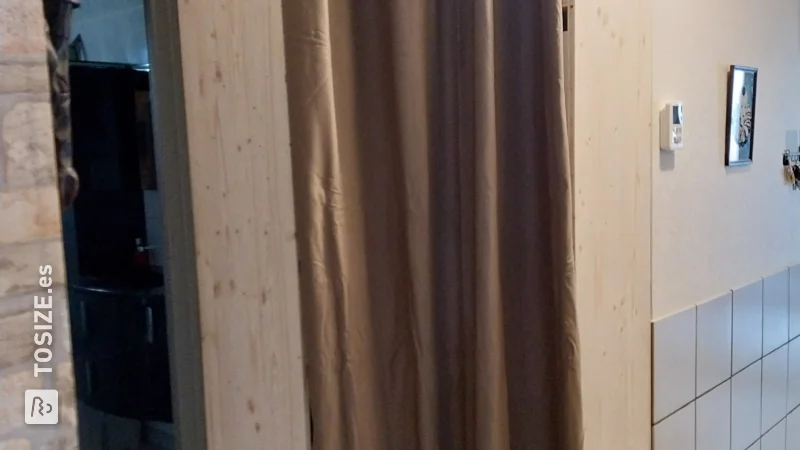
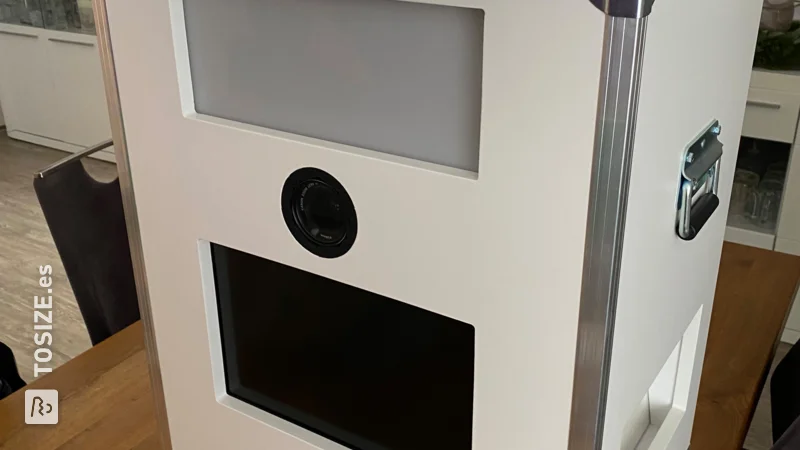
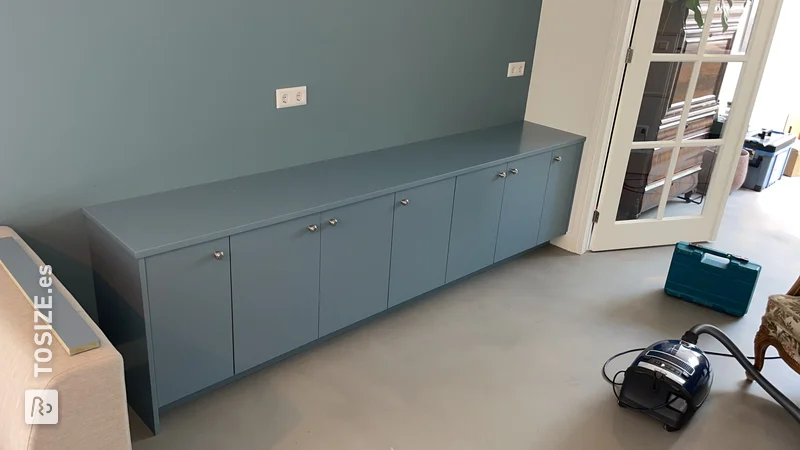
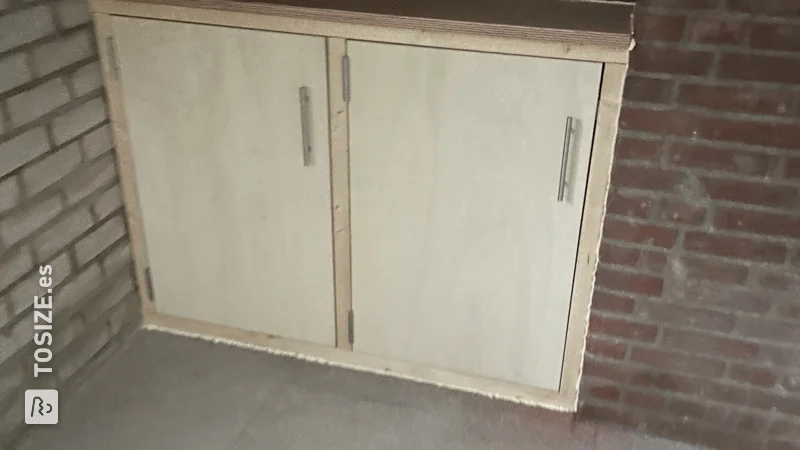
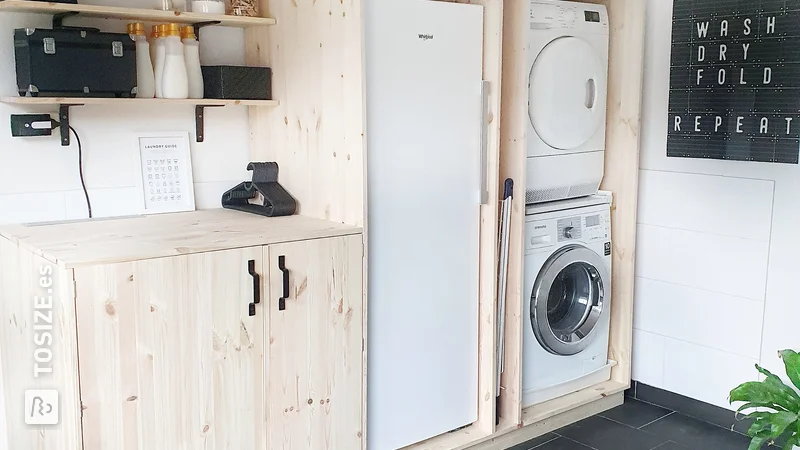
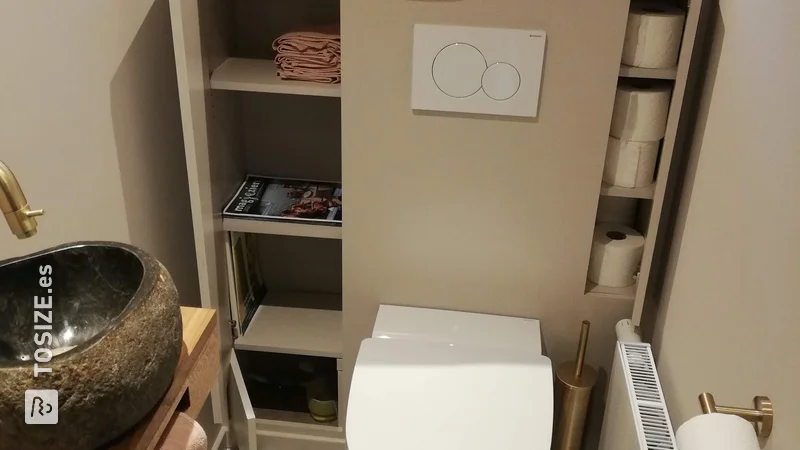
Floor hatches to close off the crawl space. Afterwards, holes were drilled and the edges were finished with Bison Rubber Seal. I did not opt for special hatch eyes, because holes are perfectly sufficient. In addition, a robot lawnmower cage was made. In the form of a beam with an opening at the bottom and front. Six iron corner pieces connect the plates to each other. Rubber Seal was also used here. The construction had to be waterproof, of course, but it also had to be able to carry weight (plants, kids). This construction can handle it all.
How I made this project
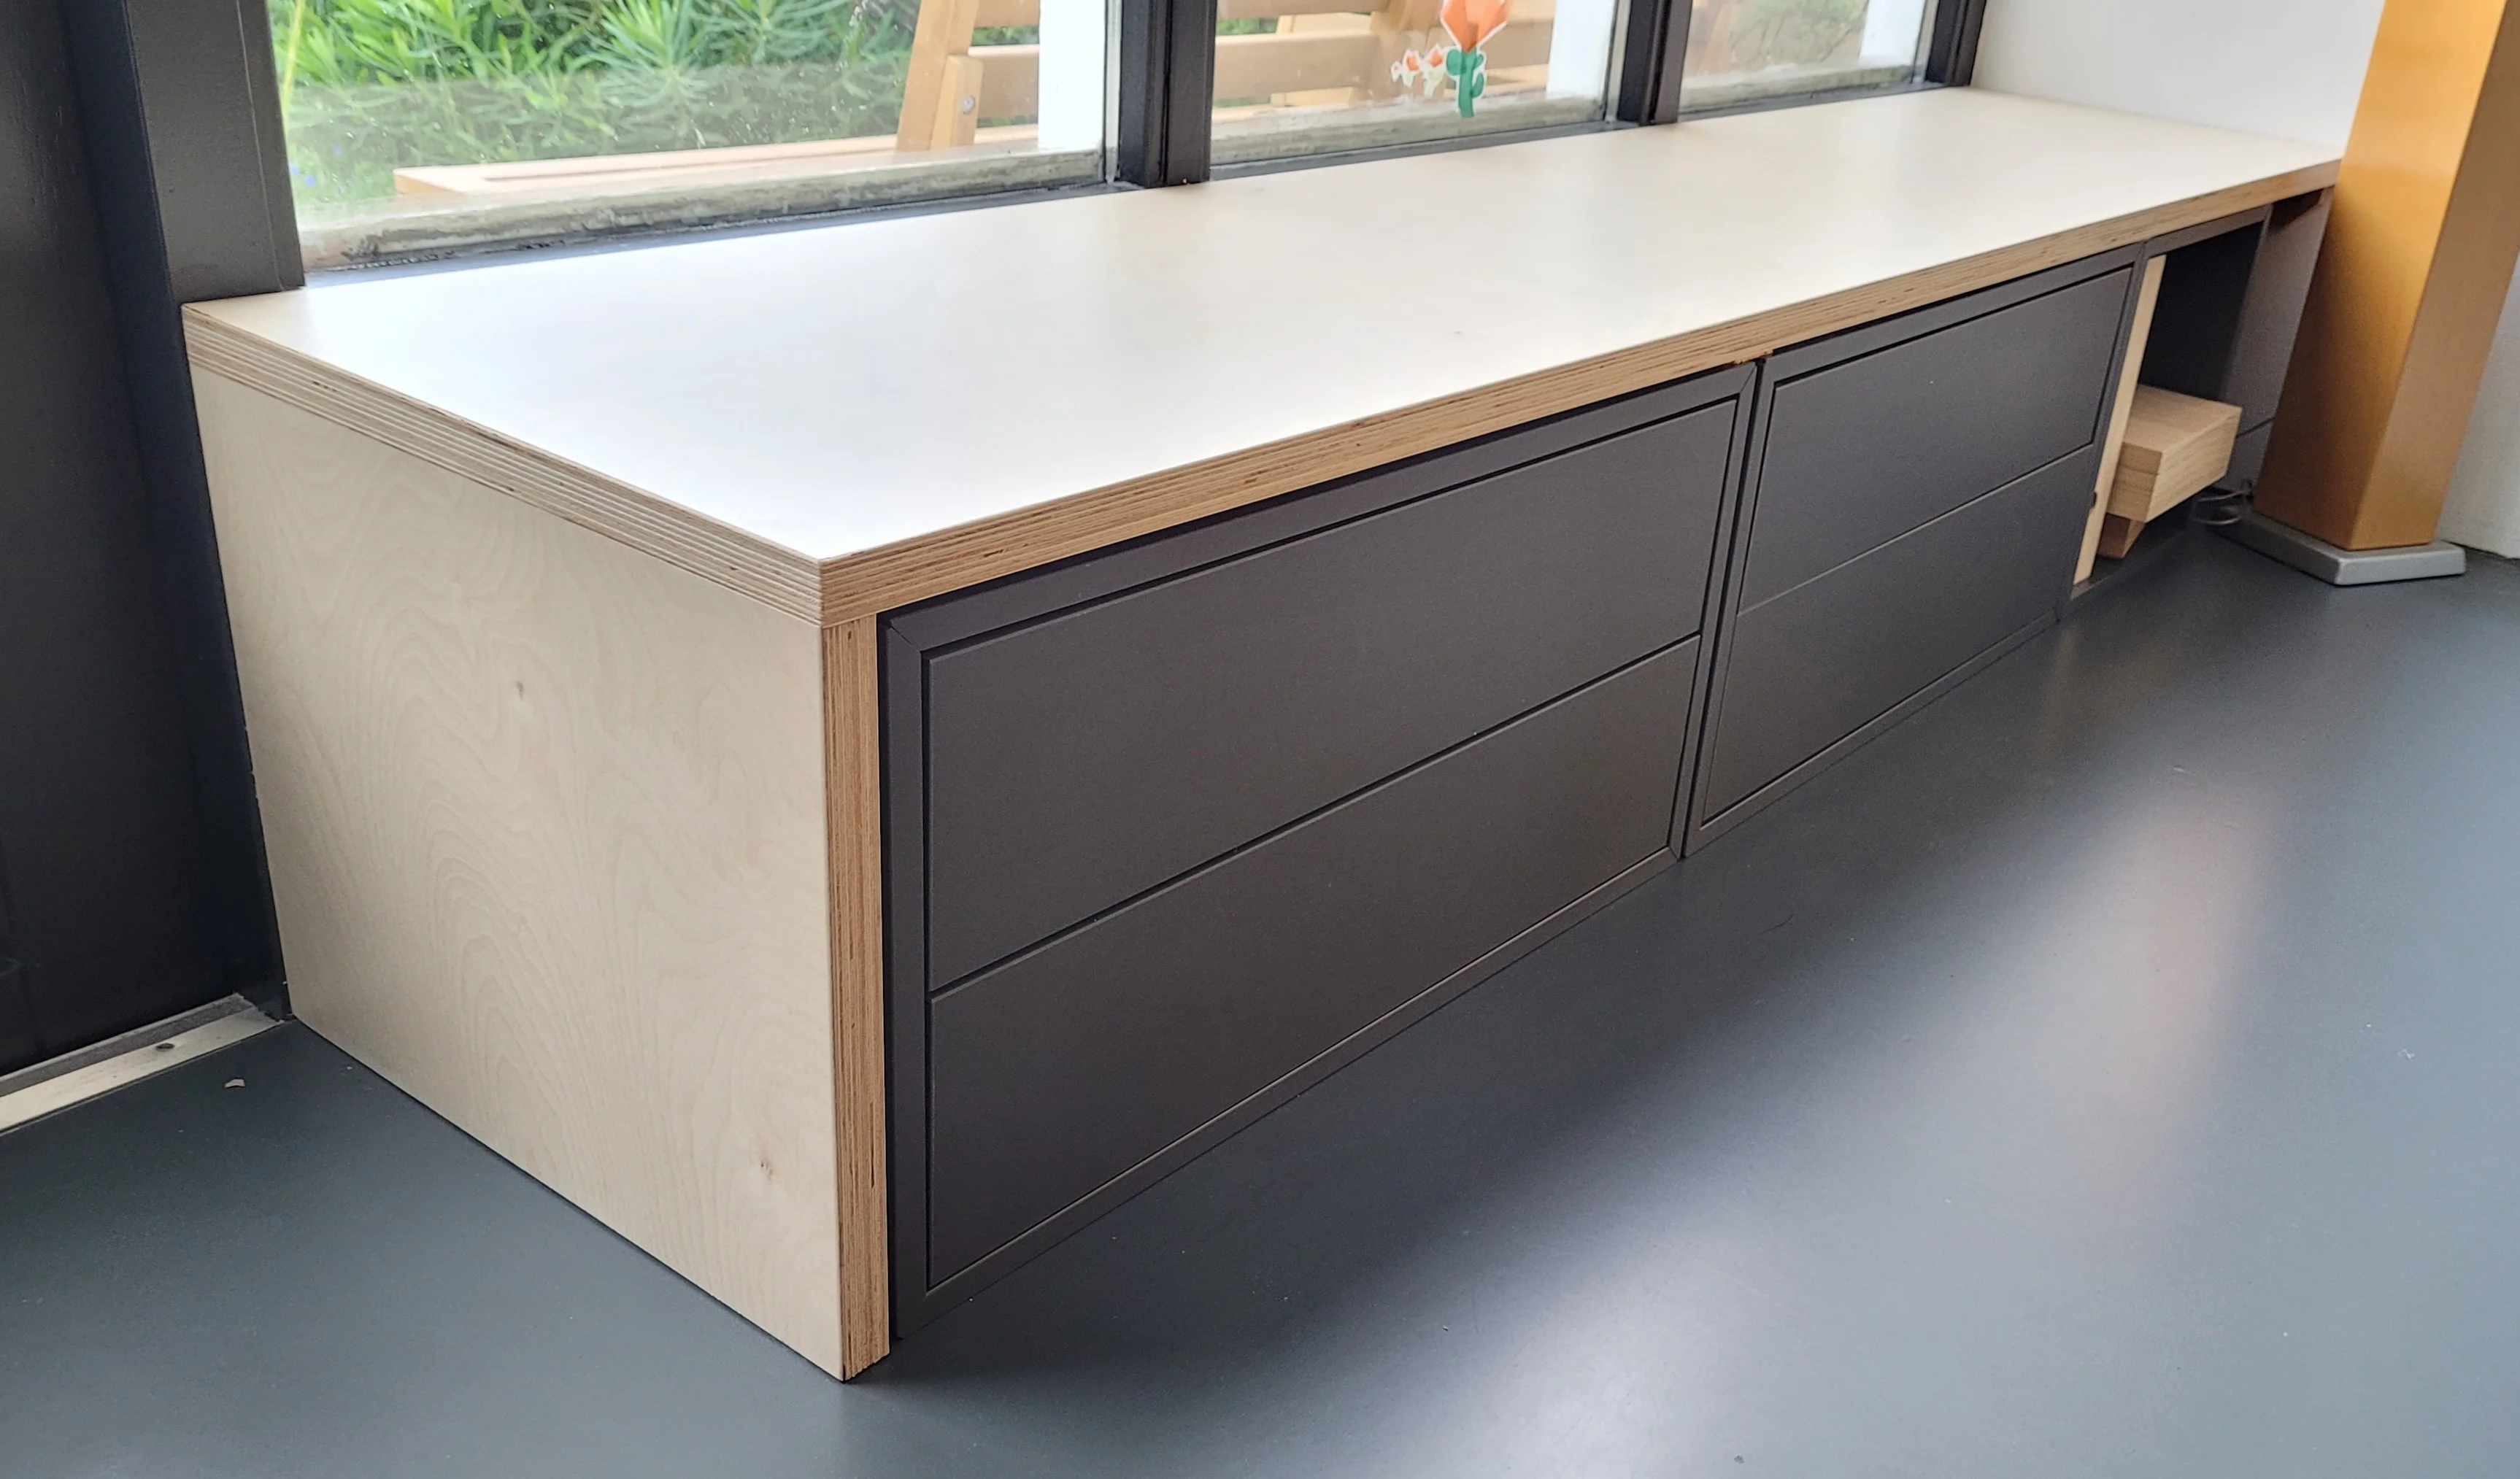
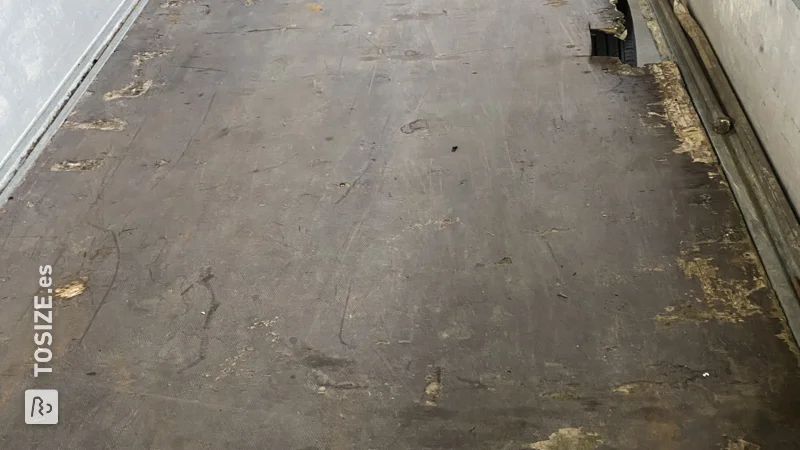
I used existing dimensions. The previous crawl hatch was affected by moisture. After tackling the crawl space, the hatch had to be replaced. To eliminate moisture problems, I chose concrete plywood. This material is strong and can withstand moisture well. Thickness was important because the plate must fit well in the floor. 2 drilled holes serve as eyes to open the hatch. With the Robotmaaier shed, the top plate is leading. This covers the entire construction to limit moisture penetration via seams.
Dimensions of my DIY project
Crawl space hatch is 98x54 cm. Robo mower shed is 70x54.2x42.1 cm.
Tip! Also check out our handy DIY tips!
What now?
Want to make this DIY project? Check out Eelco's saw list and complete your order easily.
245,91 €
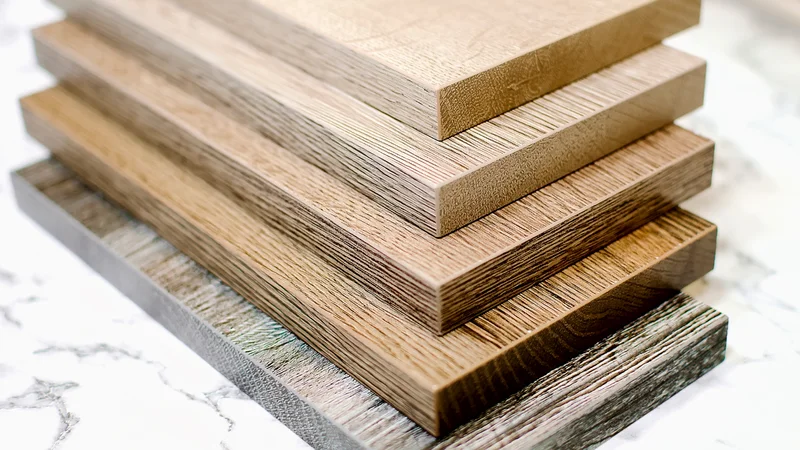
All materials used
View all sheet materials